
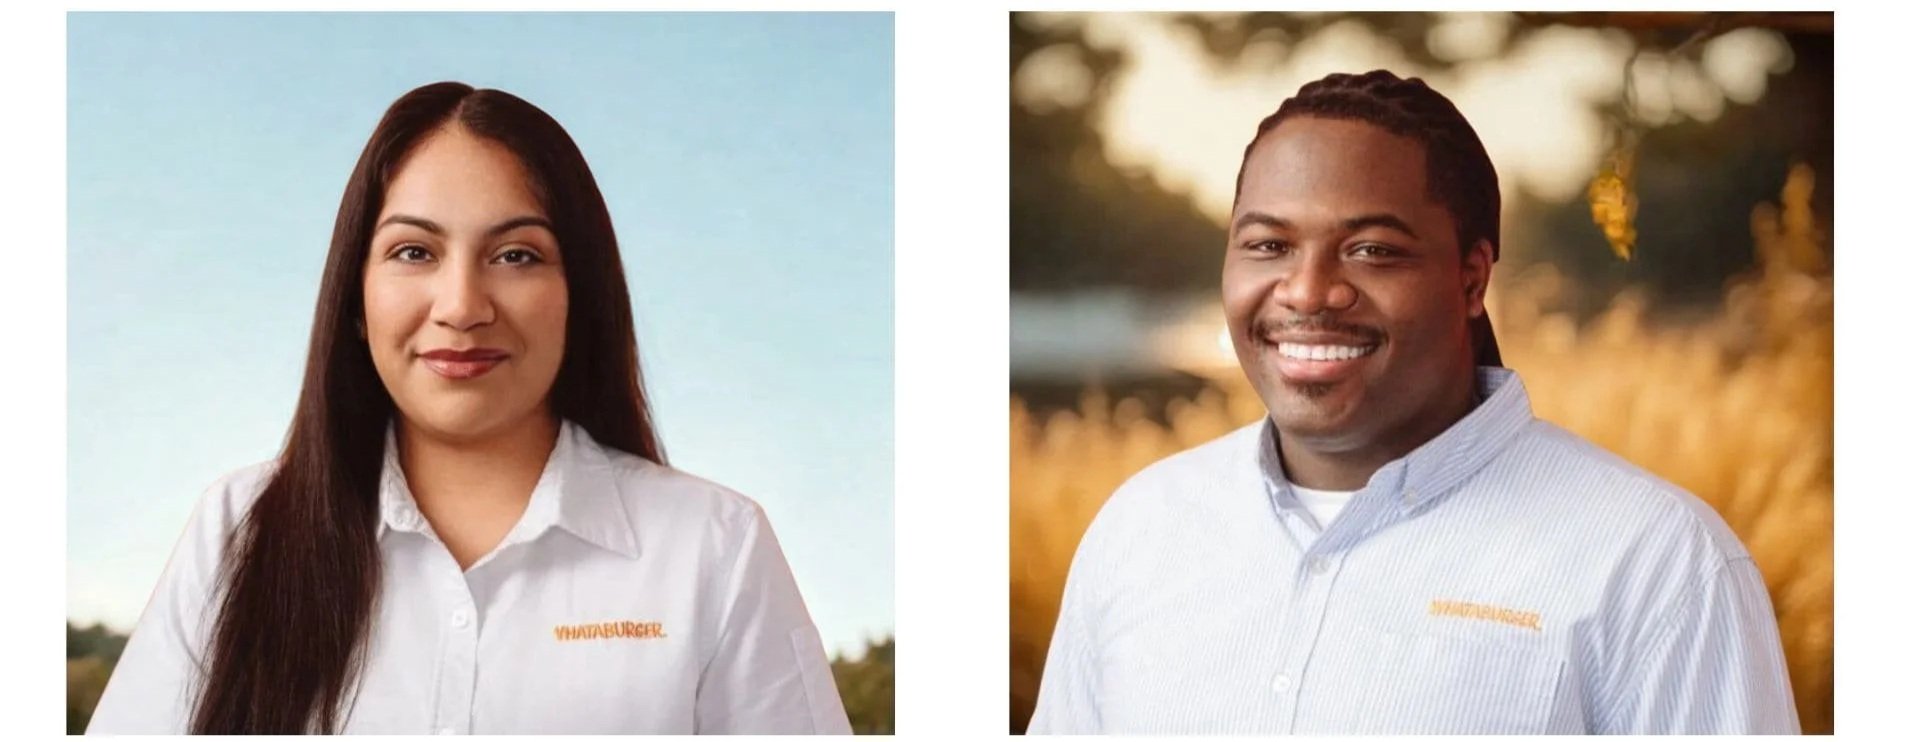
Outdoor headshots give you a fresh, modern look that feels real. Natural light softens features, brings out detail in your eyes, and adds personality to your photo in a way studio lighting can’t always match. You get more depth, more color, and a backdrop that tells its own story.
This guide walks you through everything you need for strong outdoor headshots, including outfits, locations, lighting, posing, and quick fixes for tough conditions.
Why Outdoor Headshots Work So Well

Outdoor settings feel relaxed and natural. You get space to move, light you can shape with simple adjustments, and backgrounds that create mood without drawing attention away from your face. These shots feel contemporary and fit the way many people live and work today. Remote workers, creative teams, and entrepreneurs often want a more approachable image, and outdoor portraits match that shift. In some cases, lifestyle photos can push that approachability even further by showing more of how someone works, moves, and connects in a real setting.
You also get variety without switching locations. That range makes outdoor sessions flexible, even if you only have ten minutes.
When Outdoor Headshots Work Best
Time of day changes everything. Early morning gives you soft shadows and cooler tones. Late afternoon brings warmer light and subtle highlights along the face. Cloudy days flatten harsh contrast and create a clean, balanced look. Even bright midday sun works if you find open shade or angled surfaces that bounce light gently onto your face.
Weather plays a big role too. Light wind can help your photo look more dynamic. Heavy wind pushes hair across your face, so pick spots between buildings or along walls for shelter.
What to Wear for Outdoor Professional Photos
Clothing should contrast with your surroundings without turning the photo into a color clash. Solid colors work well outdoors because they keep attention on your expression. Textured fabrics add depth. Avoid thin stripes or patterns that can distort in camera.
Bring layers. You can take a jacket off between shots or switch looks without a full outfit change. Glasses are fine outdoors, but tilt the frame slightly downward to reduce glare.
Sample Outfit Ideas
| Style Goal | Clothing Choice | Notes |
|---|---|---|
| Polished business | Navy blazer, clean top | Works well against greenery or bright stone walls |
| Casual professional | Neutral sweater, dark trousers | Fits parks, rooftops, riverwalk areas |
| Creative | Muted colors, textured fabrics | Avoid backgrounds with matching tones |
How to Pick the Right Location for Outdoor Headshots
A good spot gives you three things: clean light, simple backgrounds, and room to adjust your angles. Parks, rooftops, quiet alleys, neutral building walls, murals, and shaded walkways all work. You want depth behind you because it lets the background blur and keeps the focus on your face.
Look for backgrounds that match your personality or your field. A tech professional may prefer glass buildings or metal textures. A writer may prefer trees or brick. A consultant might want a neutral wall with soft shadow lines.
Location Checklist
A mix of shade and light
Backgrounds without heavy foot traffic
At least two surfaces that bounce or block light
Space to shift left or right to fine-tune shadows
How to Pose for Outdoor Headshots
Outdoor spaces give you natural props like walls, benches, steps, rails, and corners. These help you stay relaxed, which shows in your expression. Keep your shoulders loose, tilt your head slightly toward the light, and give yourself room to move. Small shifts can change the whole frame.
You can use simple micro-moves to keep photos from looking stiff. Take one step forward, drop one shoulder slightly, or angle your body away from the camera while turning your head back in. These changes open your posture and define your jawline.
Posing Ideas to Try
| Pose | How to Do It | Why It Works |
|---|---|---|
| Wall lean | Touch one shoulder lightly to a wall | Adds shape and relaxes your posture |
| Step-up | One foot on a step, torso angled | Creates natural lines through your body |
| Soft turn | Body angled away, head turned back | Defines the jaw and keeps shoulders open |
| Seated | Sit on a bench edge, lean slightly forward | Adds depth and keeps the pose grounded |
Simple Outdoor Lighting Techniques You Can Use Anywhere
Natural light changes fast outdoors, but a few tricks make it easy to control. Start by facing open shade. This gives you soft, even light without harsh streaks across your cheeks or forehead. Look for shade created by trees, tall buildings, overhangs, or a bus stop canopy. You get balanced light without losing detail.
If you walk along a building line, you’ll notice pockets where the light wraps around your face. Corners work best. One side blocks direct sun, and the other side reflects light back toward you. This helps shape your jawline and keeps the photo clean. Ground surfaces matter too. Light pavement brightens your face. Dark pavement absorbs light and creates heavier shadows.
Quick Lighting Guide
| Lighting Situation | What to Do | Result |
|---|---|---|
| Harsh sun | Step into open shade | Softer skin detail |
| Flat cloudy sky | Angle your face slightly upward | Adds brightness to eyes |
| Bright pavement | Stand near the edge | Natural fill light |
| Mixed shade | Rotate until shadows look even | Balanced skin tone |
Common Outdoor Problems and Easy Fixes
Outdoor headshots come with small challenges, but each one has a simple solution. Wind pushes hair across your face, so move beside a wall or stand with your back to the wind. Harsh sun creates deep under-eye shadows, so face a surface that reflects light. Busy backgrounds pull attention away from your eyes, so take one step forward to increase blur.
Sweat can appear on warm days, especially along the nose or forehead. A quick blot or a light powder fixes this. Glasses can pick up reflections, so lower the frames a tiny bit or angle your chin slightly down.
Real Fixes You Can Use Right Away
Shift your angle until shadows fall evenly.
Move closer to the camera to blur a busy background.
Use walls to block wind.
Use a building’s bright surface for bounce light.
Take small pauses to reset your shoulders and breathing.
The 10-Minute Outdoor Headshot Plan
If you only have a few minutes, you can still get a professional look. Pick one shaded spot, one clean wall, and one pose that feels natural. You can switch from a soft, relaxed version to a sharper, more defined look by adjusting your angle and expression.
This fast plan works well for quick profile updates, corporate directories, and LinkedIn refreshes. You get variety without moving far, and you avoid complicated setups.
Quick 10-Minute Breakdown
Locate open shade with simple background.
Take one forward-facing shot with a soft turn.
Step toward a wall and try a lean.
Angle your face toward the best light.
Capture three expressions: confident, approachable, calm.
Review and retake anything that feels stiff.
Outdoor vs Indoor Headshots: Which One Fits You Best
Outdoor headshots feel open and relaxed. Indoor headshots look polished and consistent. Both styles work, and the right choice depends on your profession, your comfort level, and how much control you want over lighting and background.
Outdoor settings give you variety in color and texture. Indoor setups give you predictable light, a cleaner frame, and smooth retouching. Many people use both styles across different platforms. A softer outdoor photo works well for personal branding. A clean indoor image fits resumes, corporate directories, and official documents.
Final Thoughts on Getting Strong Outdoor Headshots
Outdoor headshots feel warm and real. You get natural light, textured backgrounds, and space to move at your own pace. The best results come from simple choices: shade, clean backgrounds, balanced angles, and outfits that stand out without overpowering the frame. A few small adjustments help you handle wind, glare, and harsh light. With a little planning, you can get photos that fit your work, your personality, and the style you want to share online.
If you’re craving the outdoor headshot look but want something a bit more controlled, you can also try an indoor photoshoot at Studio Pod. With Studio Pod, you can enjoy the clean, consistent studio lighting while choosing from a variety of backgrounds, including customizable options that mimic outdoor settings.
Book your Studio Pod session today and get clean studio quality with the flexible style of an outdoor portrait.


